ECOMMERCE
How to Take Beautiful Product Photography?
Learn how to take beautiful product photography like a professional photographer, saving money and create a high value for your products on your ecommerce store, Shopify store, Amazon, eBay and more.
The Definitive DIY Guide to Beautiful Product Photography
The perceived value of your products and the trustworthiness of your brand is often judged based on the quality of your visual presentation. That means having high-quality, beautiful product photography can go a long way.
However, not every store owner can afford to invest in a professional photography studio, especially when they’re just starting out. DIY product photography provides a great alternative, and as long as you know the proper tools and techniques, taking compelling product photos is well within your grasp.
But it’s not just aesthetics we’re talking about. Showcasing your products with high-quality images can also be the difference between a conversion and no sale at all. This is particularly true if you’re also distributing your products on marketplace sites like Amazon, where your product photos are displayed alongside those of your competitors.
The perceived value of your products is directly impacted by the quality of your product photography.
But when you’re just starting out, getting your product photos up to par can be intimidating because professional photography is often expensive. There are hundreds of product photography tools to help you get the job done yourself, though.
As a business owner with lean startup roots, I understand this more than anyone. I also know that sometimes the money is just not there. If that’s you and your budget is tight, have you thought about taking the DIY approach to product photography? It’s not as hard as you might think.
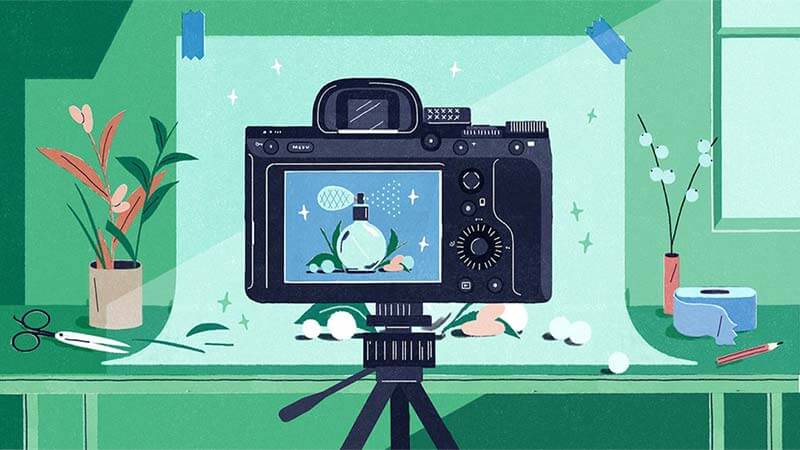
There are lots of techniques for shooting successful product photos, but the one I’m going to show you is commonly known as The Window Light Technique. From someone who photographs products every day, this tutorial has been specifically crafted for business owners on a budget. It’s designed to be simple while producing excellent, high-quality results for most product types.
What is the Equipment Needed to Get High Quality Product Photography?
Gear is at the heart of photography and can be exciting, but it can also be very confusing for newcomers.
There’s no need to spend a large portion of your budget on high-tech equipment, so keep an open mind and try not to overspend on gadgets that light your product no better than a $5 piece of card can, for example. You can probably do this window light setup for $20 or less if you already own a camera.
Product Photography Equipment You’ll Need
To get high quality product photography you will need these 7 tools as part of your setup:
1) Camera
2) A tripod.
3) A white background.
4) White bounce cards made of foam board.
5) A table.
6) Tape.
7) The right room.
Bes Recommendations & Tips for High Quality Product Photography
1) Set up your table.
2) Set up your sweep.
3) Set up your camera.
4) Set up your product in the middle of the surface.
5) Set up the reflector card.
6) Take the picture and evaluate.
7) Get your pictures retouched.
Read more here.